
Rag rug-
There's a longer explanation here but basically the rag rug is strips of material tied into a no-slip rug mat. As I mentioned in my first blog about it, the woman whose instructions I used didn't tie the pieces. I did because
1. I have a two year old who I could just picture pulling out the pieces one by one.
2. I thought it looked better.
Our rag rug ended up being 3 feet by about 4 1/2 feet. I would guess that it took about 20 yards of fabric. I ended up buying 22 all together but had some left over at the end. This rug took a lot of time. I would cut about 100 strips at a time then be really surprised at how little of the mat they took up. I probably used up about 3 weeks of nap times and night times doing this. However, I love this rug and the look it gives to the nursery so I would definitely do it again. It ended up costing about $100 in the end (fabric is expensive, who knew?), but the alternate area rug I was considering from Pottery Barn was over $400 so I guess it's a win.

Mobile-
This was an Etsy item and I have to say that this Etsy store has a wide variety of this type of mobile, with all different shapes, so it's definitely worth checking out. M's dad used a wire hanger to make a hoop to start with. I bought cheap ribbon and tied 1-2 inch pieces around the hoop. Then I ordered die cut stars for relatively cheap from this Etsy store. The owner was super nice and helpful in giving me the right number of each color that I needed. I also wanted to include moons but couldn't find them anywhere and couldn't cut them free-handed, so it ended up being stars only. The stars are glued back to back with clear fishing line through the middle. I was initially worried that the fishing line wouldn't straighten out. It had a curl when I cut it from the reel. Once the stars were added it hung perfectly straight. The hardest part was finding an empty mobile hanger (Amazon).

Moon and stars-
I take very little credit for this one because I sent the Etsy link for this one to M's dad and he bought the wood, made himself a stencil, and cut out the pieces. I painted them with acrylic glitter paint. Love these.

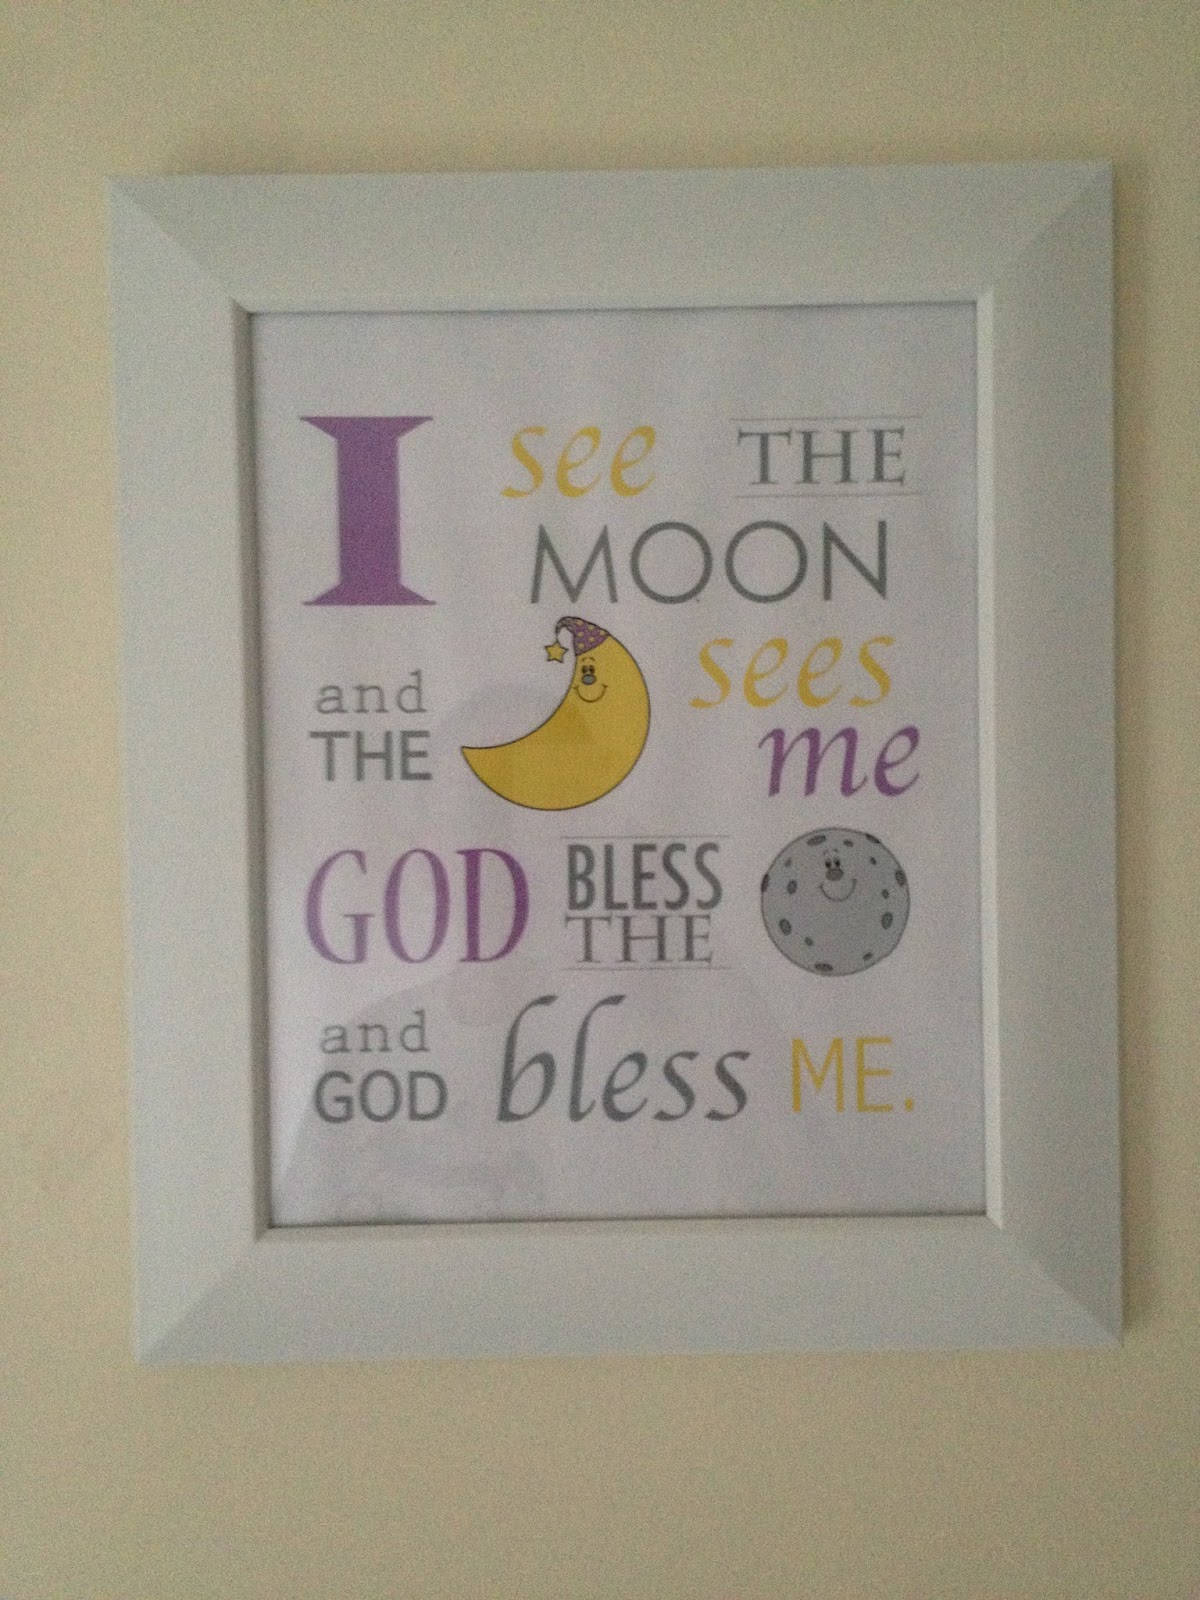
These are the easiest DIY pieces I did. They're a book (Goodnight Moon) quote and a children's prayer typed in Photoshop and printed on card stock. Idea came from a few stick on wall decals I found. I'm not a huge fan of wall stickers so we went with frames.

I still have a few things I'm looking for ideas for. A while back I made this lampshade for M's room and I've been searching for one for G's room without any luck so far. Her room still has a ways to go. Even though the picture below looks good the other side of the room is currently decorated with half-unpacked boxes and bins so this won't be the last "G's room post." I hope these ideas are helpful to a few people because I love how this room is coming along. Picture my yet-to-be-started lamp on the nightstand :)


