Showing posts with label 24 months old. Show all posts

Monday, July 8, 2013

simple birdfeeder

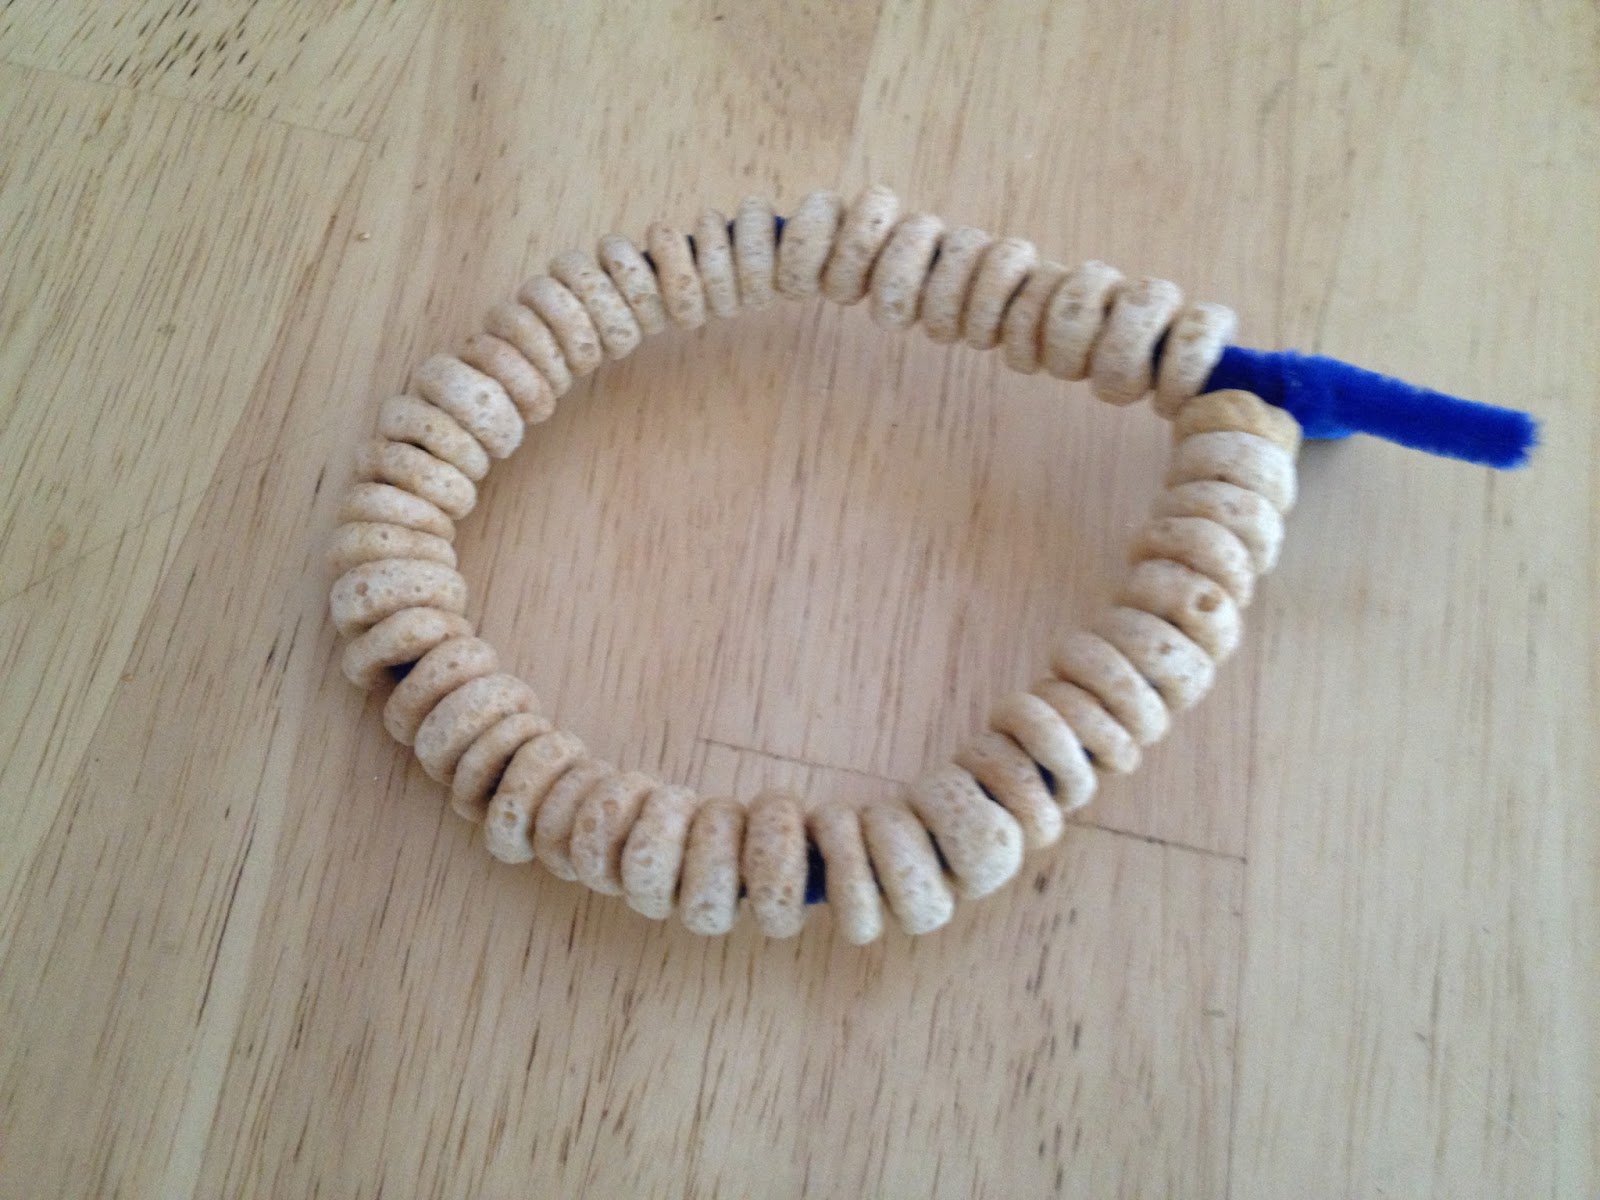
Yesterday we tried an idea I found in a parenting magazine (can't remember which one) while I was waiting at my OB's office.  The article was summer activity ideas for different age groups.  This was actually in the 3-5 year old column but M enjoyed it and was excited to put it outside for the birds yesterday.  M needed a lot of help with it but a child a little older than him could do it on their own.

It's pretty simple and fairly quick and easy.  You need a pipe cleaner (we used two) and Cheerios (which are always in our house).  You have to string the Cheerios onto the pipe cleaner then fasten it into a loop to hang it.  M put on a lot of Cheerios so we made our loop then attached a second pipe cleaner to hang it from.  It's fantastic for fine motor skills and I was actually surprised with how well M could get those Cheerios on if I held the pipe cleaner very still for him.  His only problem was wanting to put 5 or 6 on at once but we able to say that each Cheerio needed to "take it's turn" which another thing we need a lot of reminders for so it worked out.  There really isn't much more to it than that.  Here are a few pictures....


Finished product- we added the extra pipe cleaner through the little loop at the top to attach it to our deck:


Friday, June 21, 2013

ice boats

We celebrated the first day of summer today with ice boats in our kiddie pool.  This activity was a huge success with M and one that we will definitely do again.

Directions:
- Tape the short end of a flexi-straw to the bottom of a Solo cup so that the tall end stands up straight in the middle of the cup.
- Fill the cup 1/3 of the way with water and freeze (ours froze overnight).


- Once completely frozen cut the cup away from the straw.  I also read that you could loosen the ice by running warm water on the outside of the cup but I found it pretty easy to just cut the cup and slip it right off.
- Use a hole punch to make a sail for each boat.  We used construction paper.  After the fact I thought it would be cute to have had him decorate the sails but they get wet and ruined fairly quickly.

M was really excited to put them in the water and we liked sailing them back and forth and sending them down M's pool slide.  As I said, the sails were soaked within a minute or so and slumped but M didn't care and eventually just pulled them off.  The straw was great because he could use it to move the boat around without grabbing the ice every time.  

The weather wasn't overly hot today but warm enough for this activity.  That was probably in our favor because I could see these melting super fast on a very hot day.  Ours lasted maybe 10 minutes each today.  I made two and we played with one at a time because, of course, after the first melted M was asking for more.  M actually seemed to enjoy them most once they melted a bit and were smaller.  He's a big fan of throwing things (balls, rocks, etc.) into water so he had tons of fun throwing the smaller ice chunks into the water then finding them.  This was a great activity for summer and one that definitely gave me some ideas for other things to try this summer!


Friday, June 14, 2013

farm crayon party favors

M turned two this week and we celebrated with a farm-themed party.  I shared a lot of our party decorations from M's first birthday party but I didn't do too many decorations this year.  I did want to share our favor.  We gave M's little friends farm-shaped crayons.  I've seen these done on both Pinterest and Facebook in a variety of shapes and they were pretty easy to make.

I started by ordering the farm-shaped candy mold that included figures of a cow, sheep, horse, and tractor.  I found ours on ebay for under $2.  M had a wide variety of broken crayons so we collected all of them up, took off the wrappers, and broke them into smaller pieces.  I used a sharp knife to cut them small, which isn't completely necessary, but they melt faster.


M liked helping by filling the candy mold with the pieces.  He was more involved than I expected him to be, which was nice.  We filled each mold then baked them at 200 degrees for about 15-20 minutes each.  I'm guessing on the time because I really just kept an eye on them until they were completely melted.  Our candy mold was made of thin plastic (on the cheap side) and it warped after 3 or 4 batches so I would probably turn the oven down to 150 next time if I was using a similar mold.  I have seen some nicer ones that can probably stand the higher heat though.

When they were melted we stuck the whole tray (on a cookie sheet for easier moving) into the fridge to cool.  After about 10 minutes they popped right out of the mold.  The tractors were a little tricky because they had a thin middle section and kept breaking.  We had to overload them with crayon pieces to get them to work.


We got small cellophane favor bags, put a few in each, and attached a "made by M" tag.  M got a set of extras (and rejects) that seem to have held up pretty well.  I've found that he hasn't broken any by coloring with them but some haven't stood up to him throwing or dropping them.  We have a few headless cows around the house.  


I really liked this idea.  I found through searching that candy molds come in a wide variety of shapes (who knew?) so you could potentially make these for almost any occasion.